.png)
Add an Asset
Introduction
Assets represent things such as pieces of equipment, persons, buildings, or tools that you want to track and manage using InspectAll. Examples of assets include Fall Protection Equipment, Generators, Vehicles, Cranes, Forklifts, and even Employees for your Company, and much more.
When you fist try to add an asset, you will be asked to choose an Asset Type. This list of asset types will only display what you have setup for your company. If there are no asset types setup, go setup your asset types first. Asset "Types" are the CLASS of asset. The framework for all asset set up is your Form Builder. You can find Form Builder on the drop down under your name on the website if you are an Admin user. More details on setting up your asset "types" or "classes" can be found HERE.
Add an Asset
Mobile Instructions - From the Asset Menu
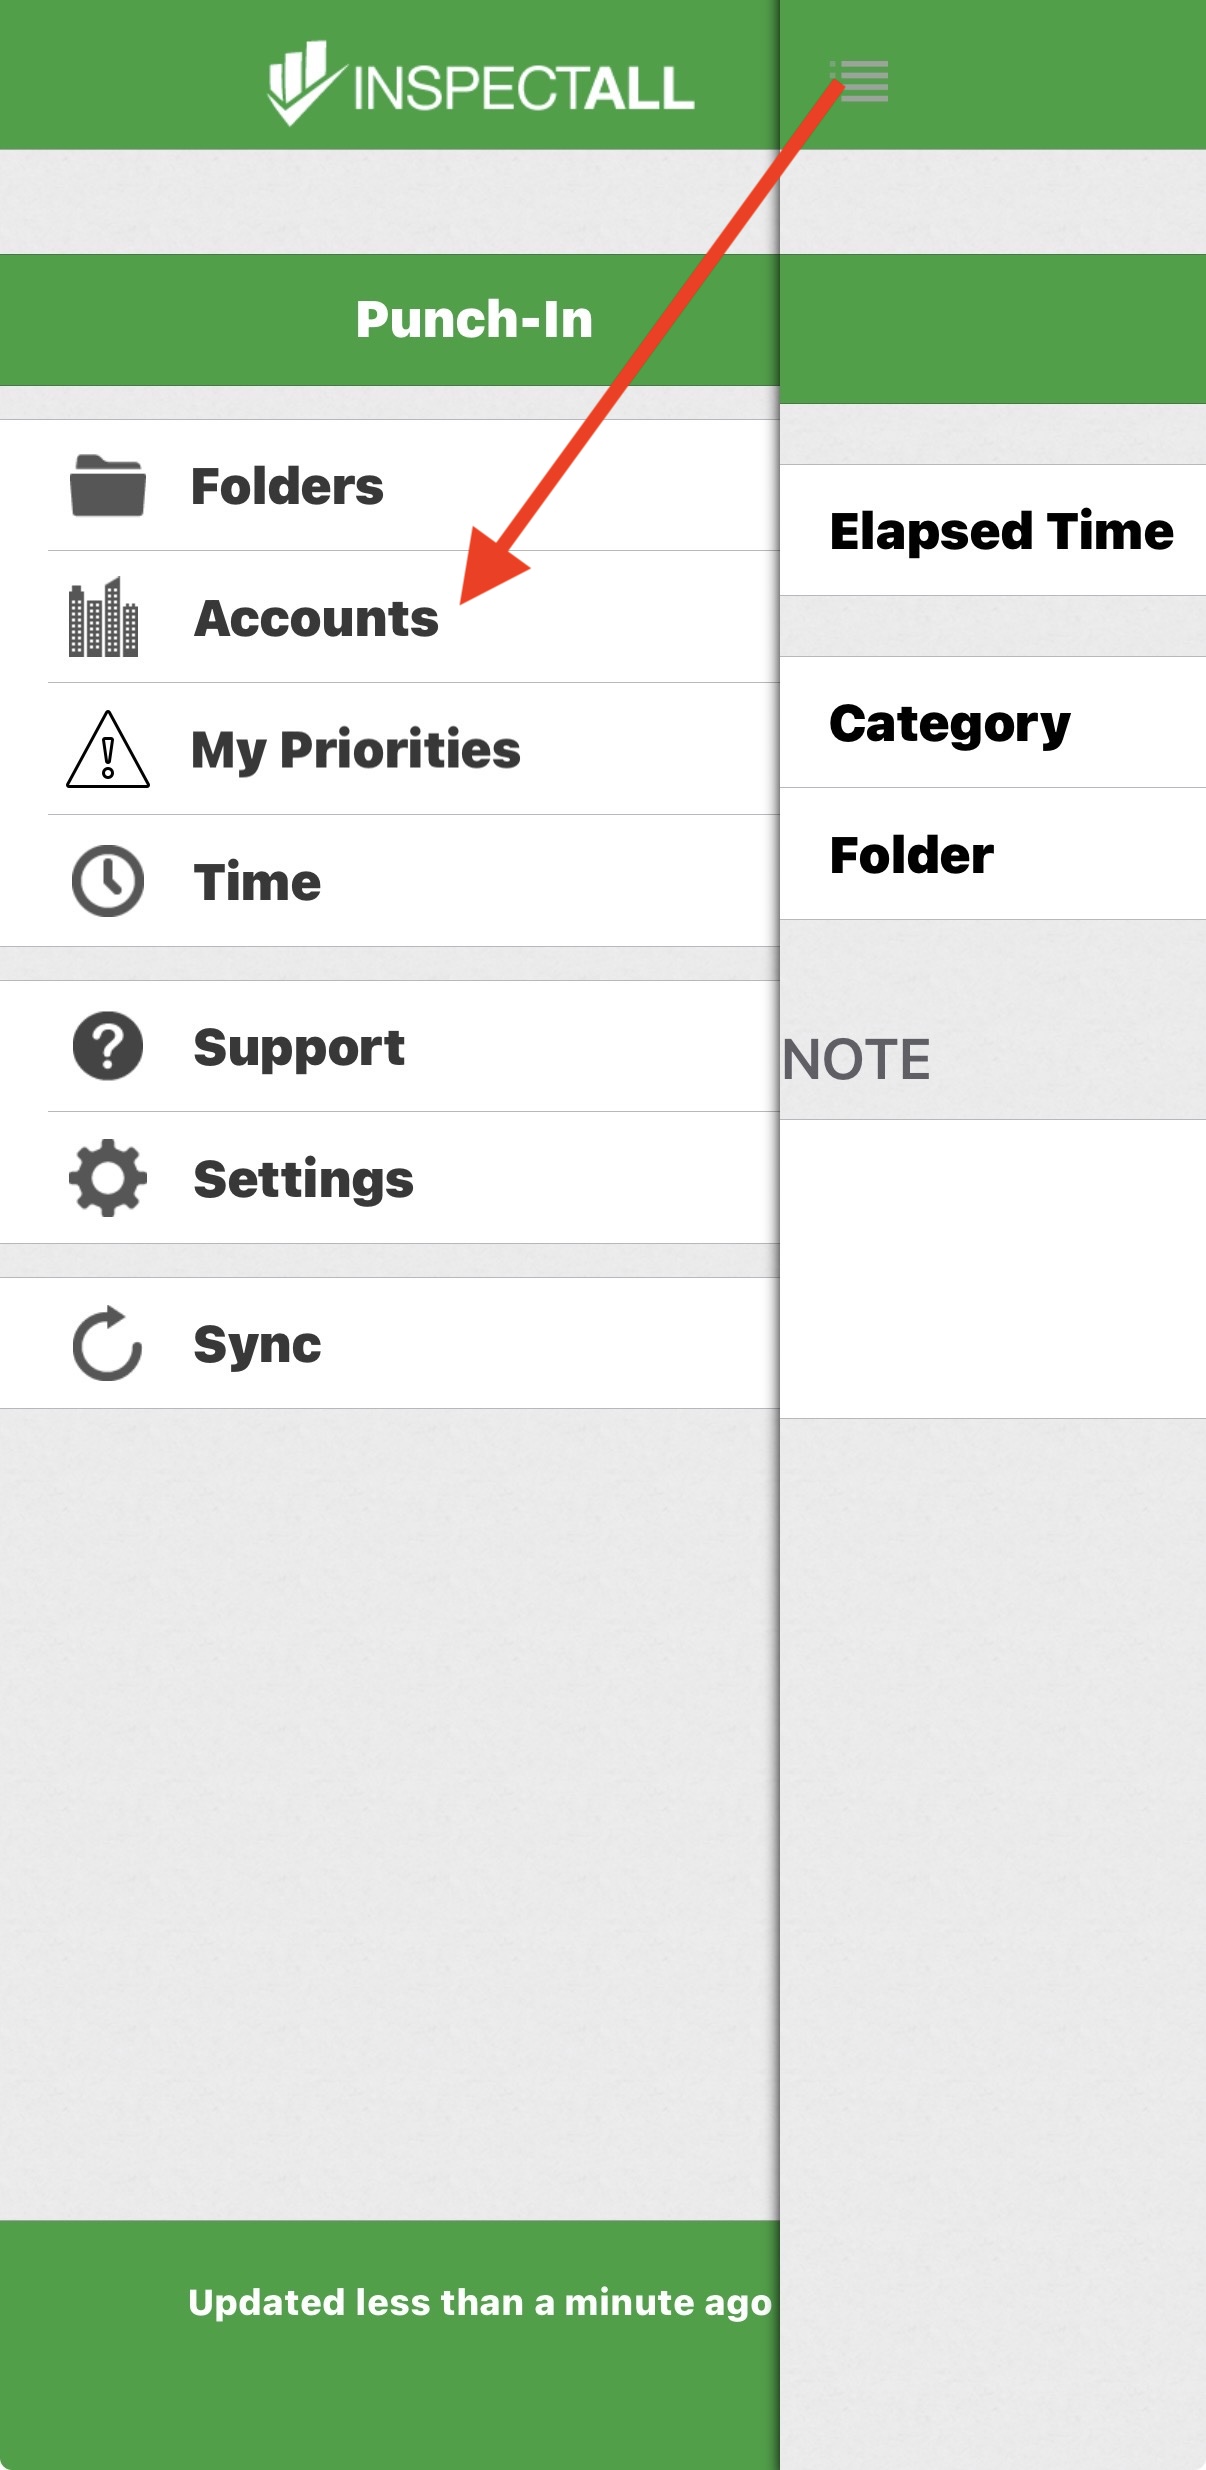
- Tap
Accountsfrom the Main Menu.
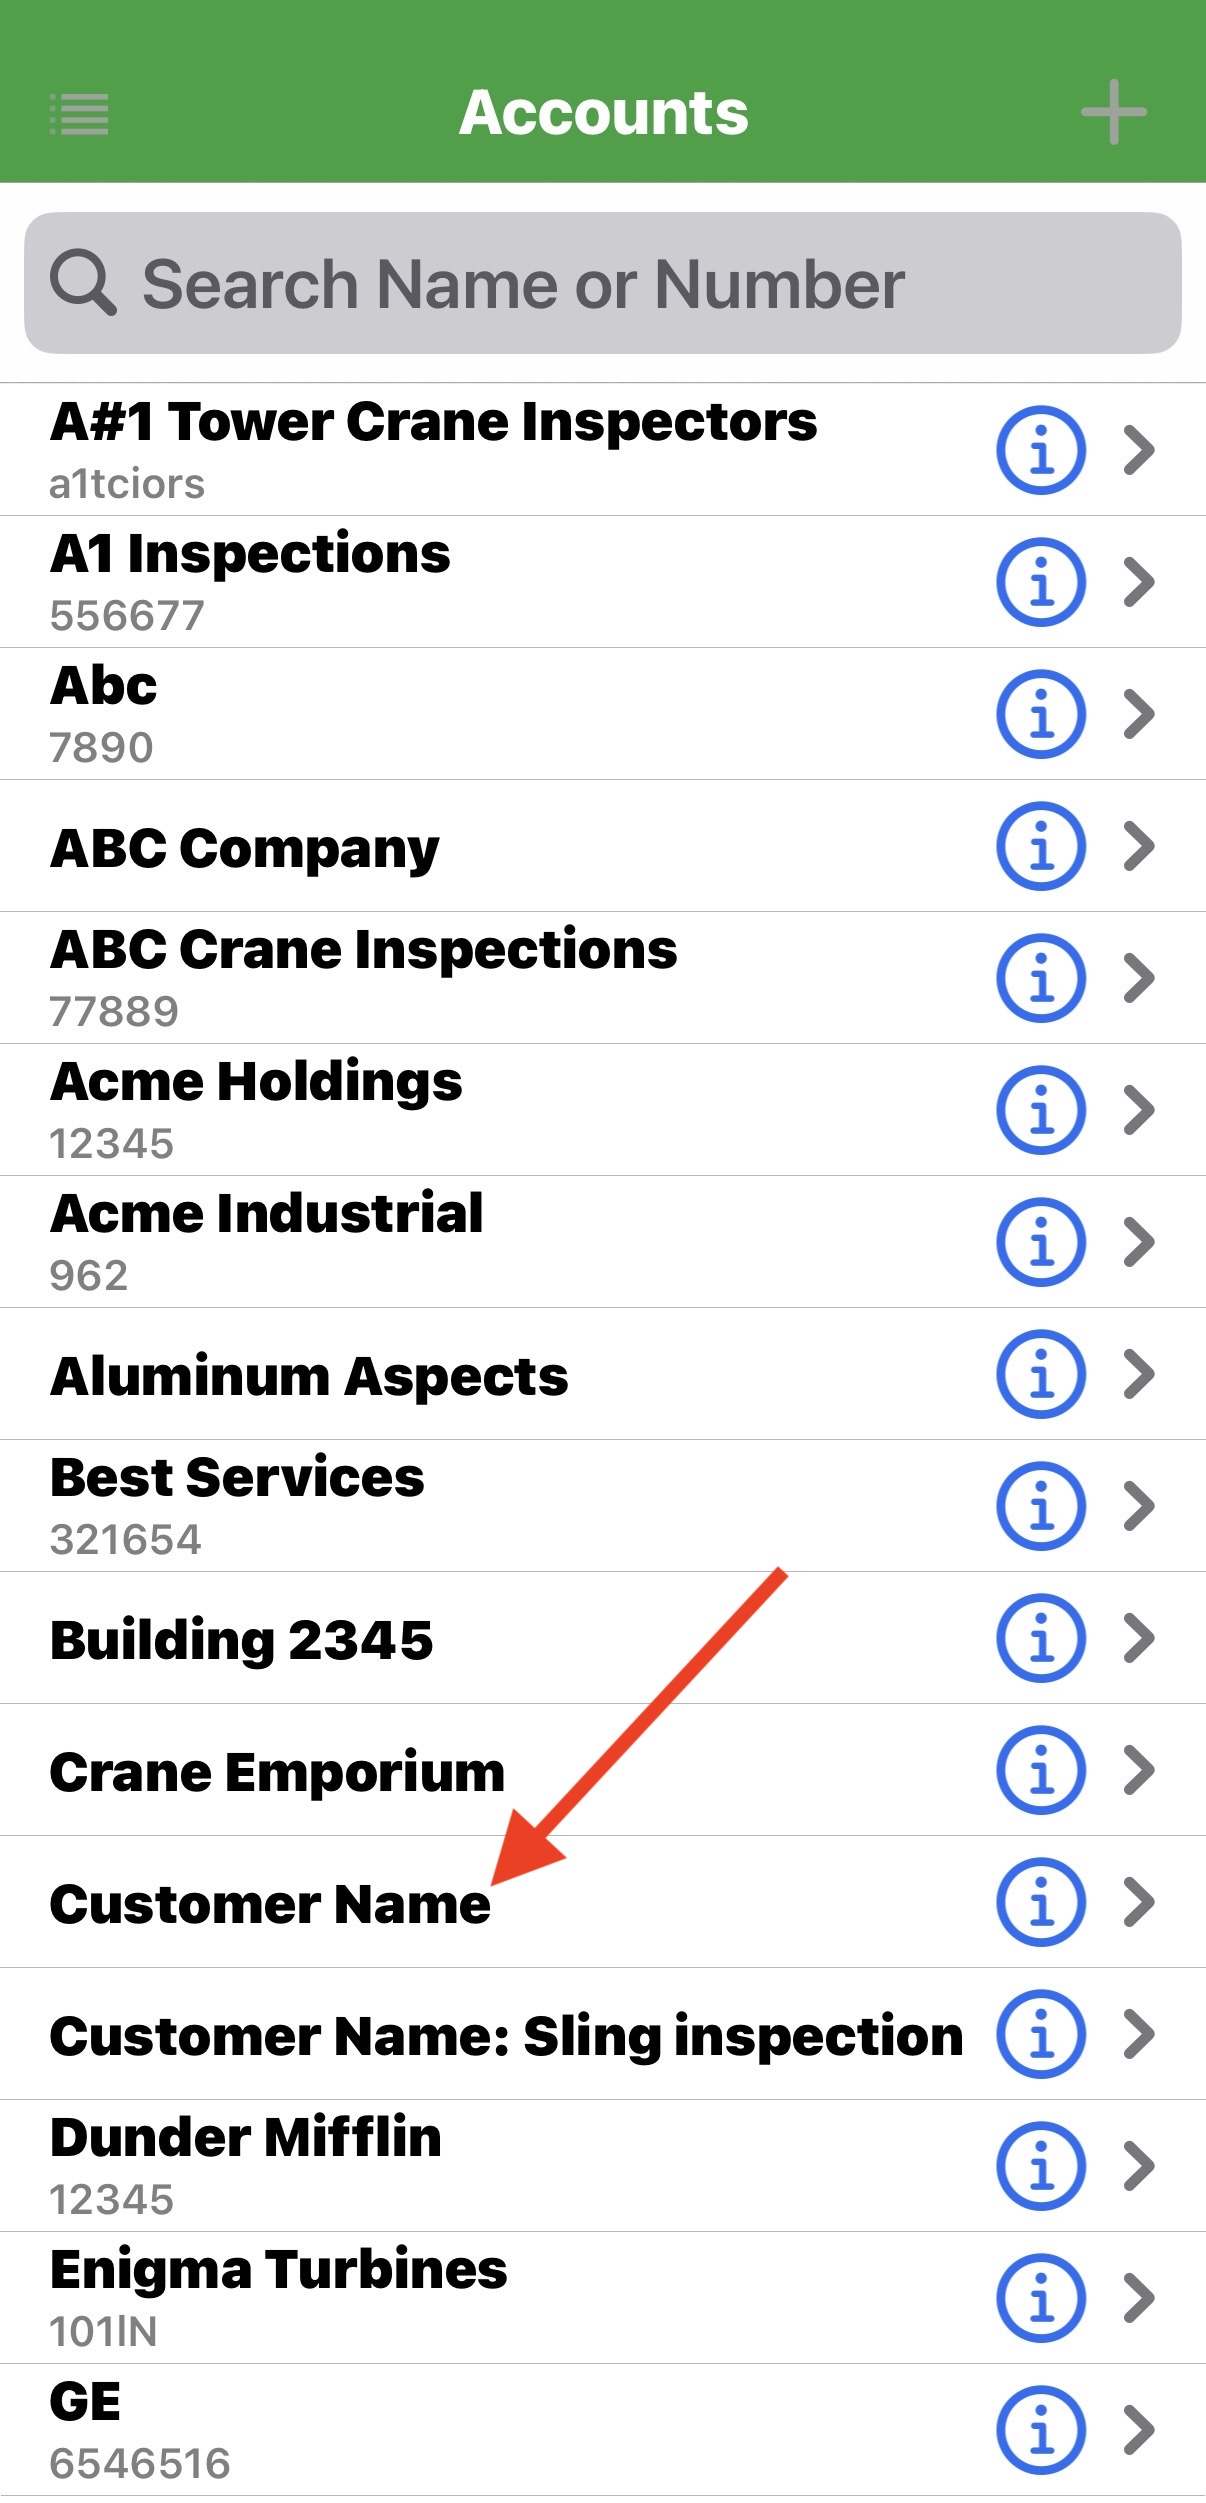
- Tap the account you want to add the asset to.
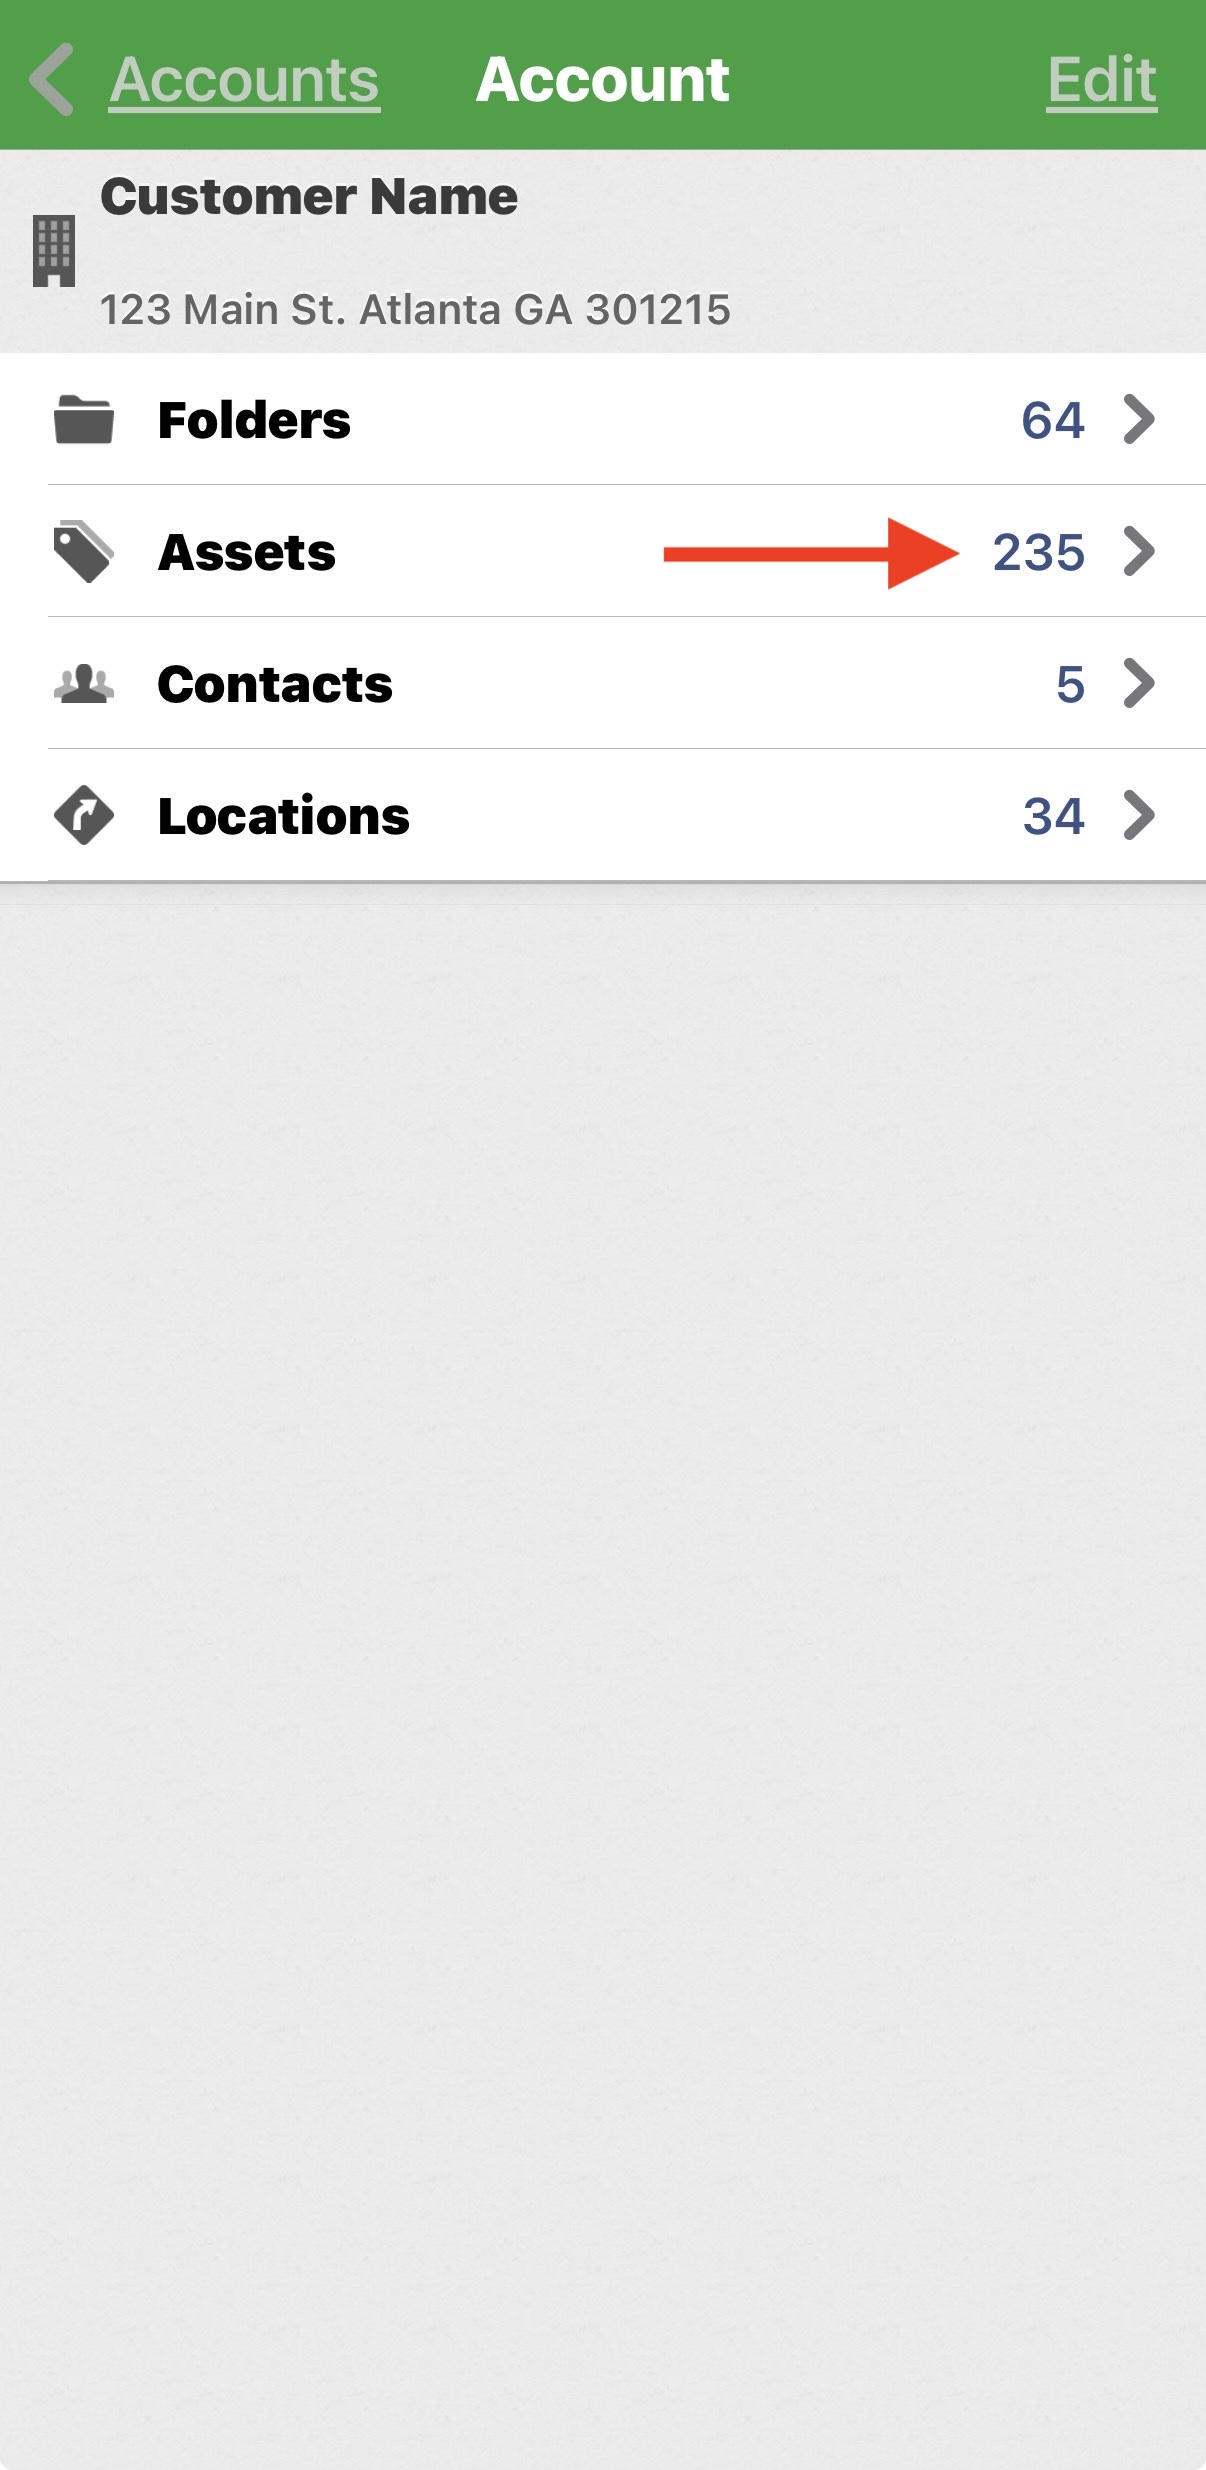
- Tap
Assets.
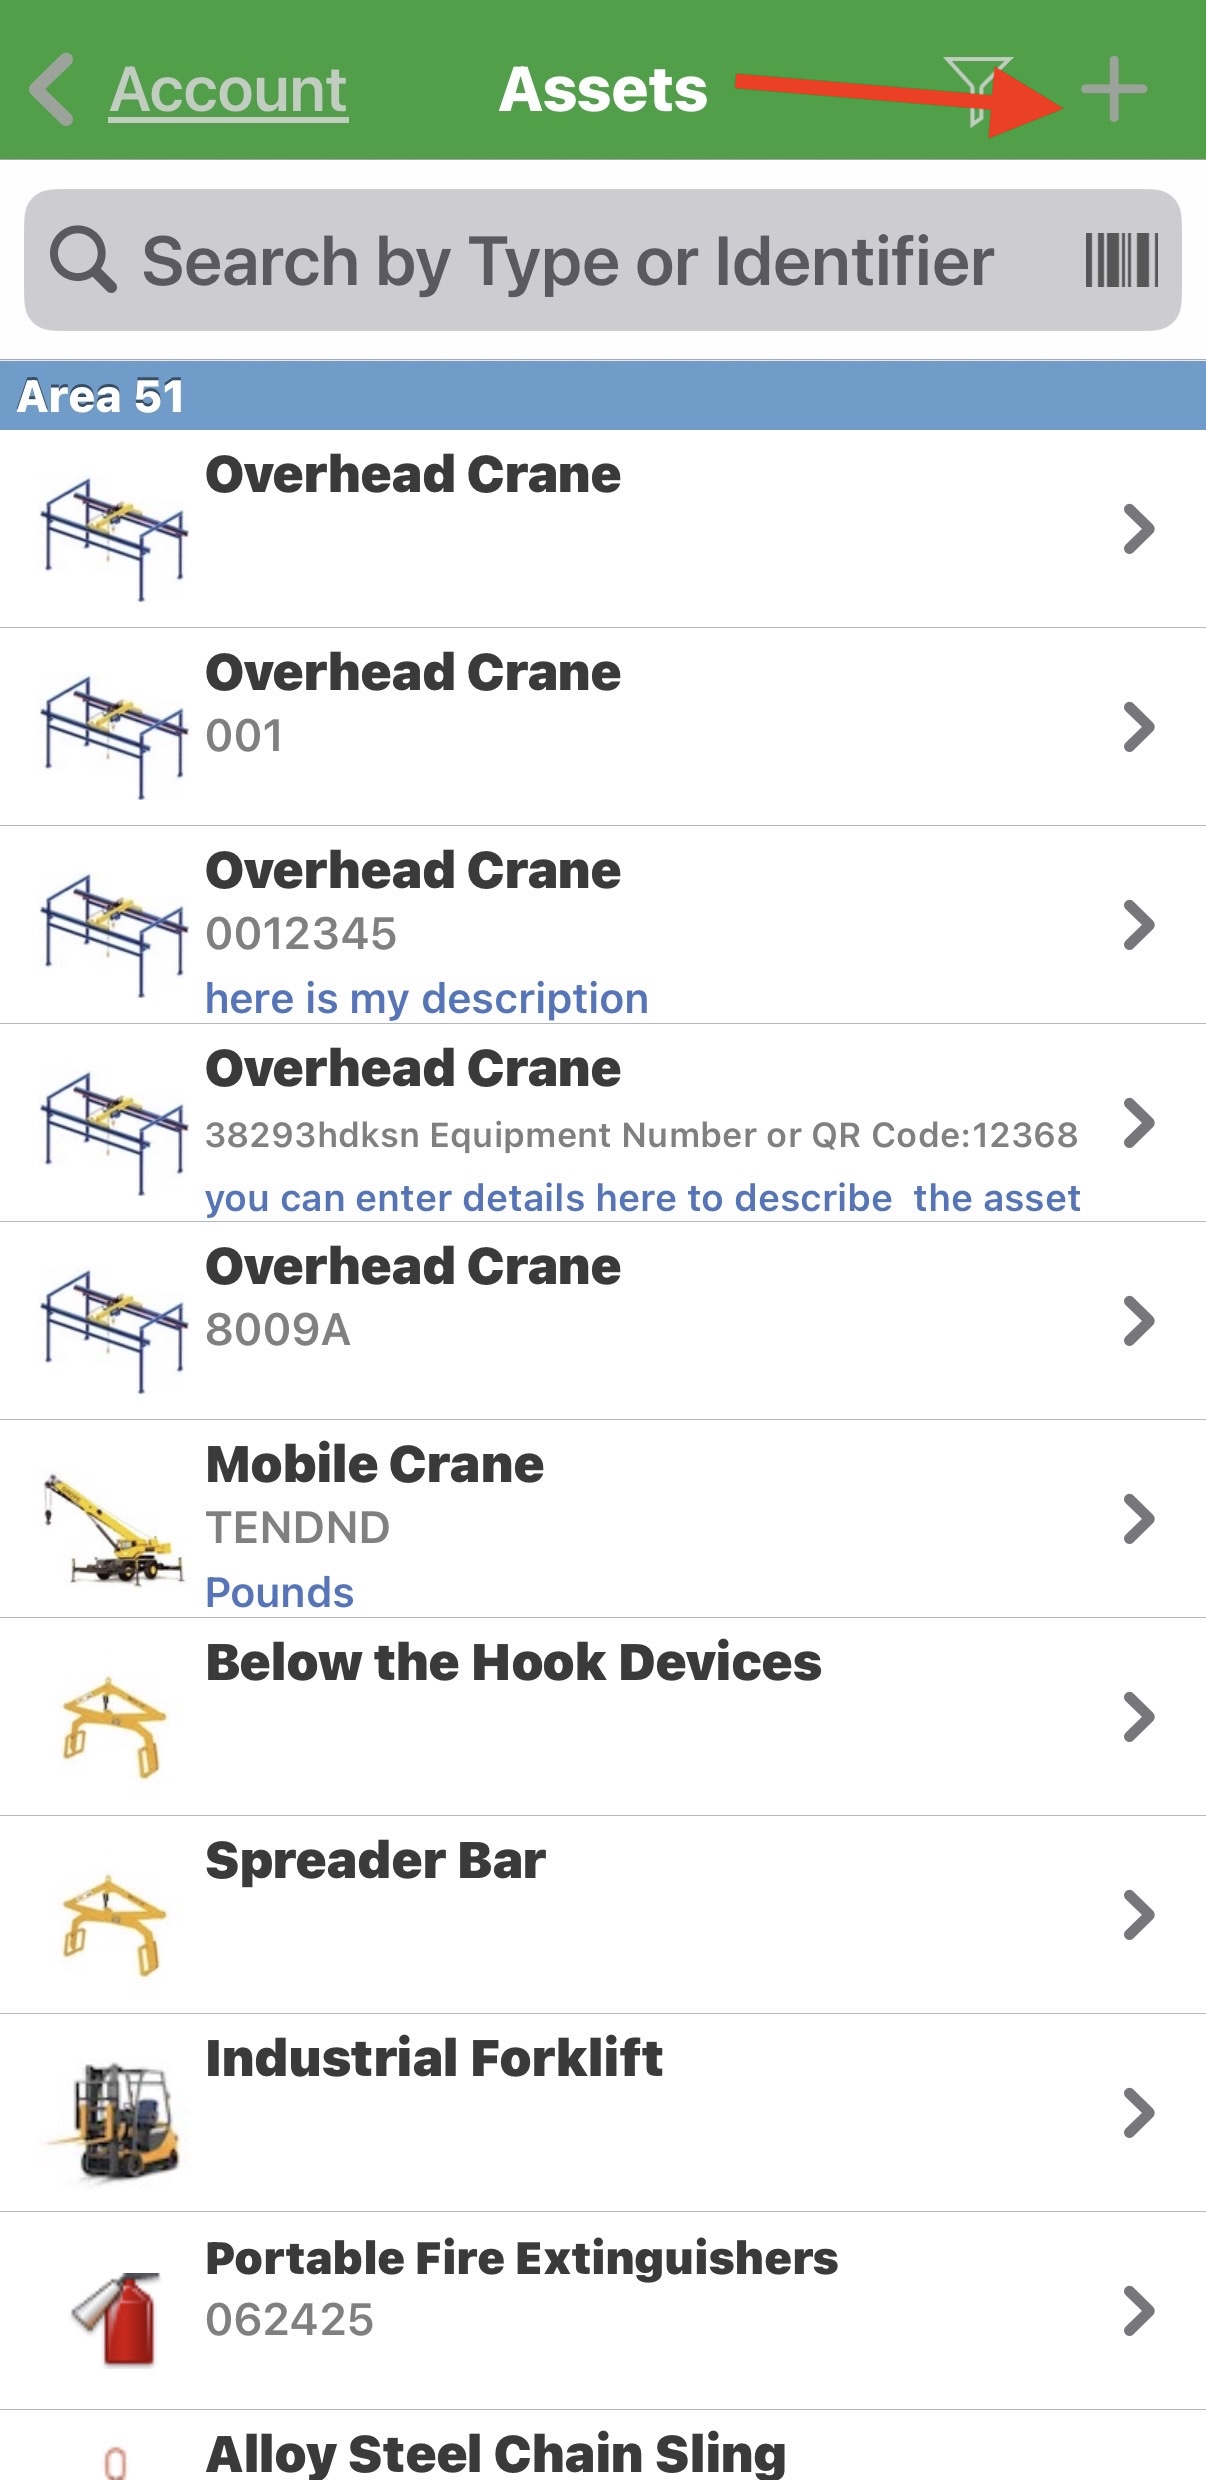
- Tap
+and selectNew Asset.
- Select the Asset TYPE (that's the CLASS of asset you are creating).
- Once you select the TYPE, you will see the list of details for the asset to fill out. IDs, Location, Area, and Attributes.
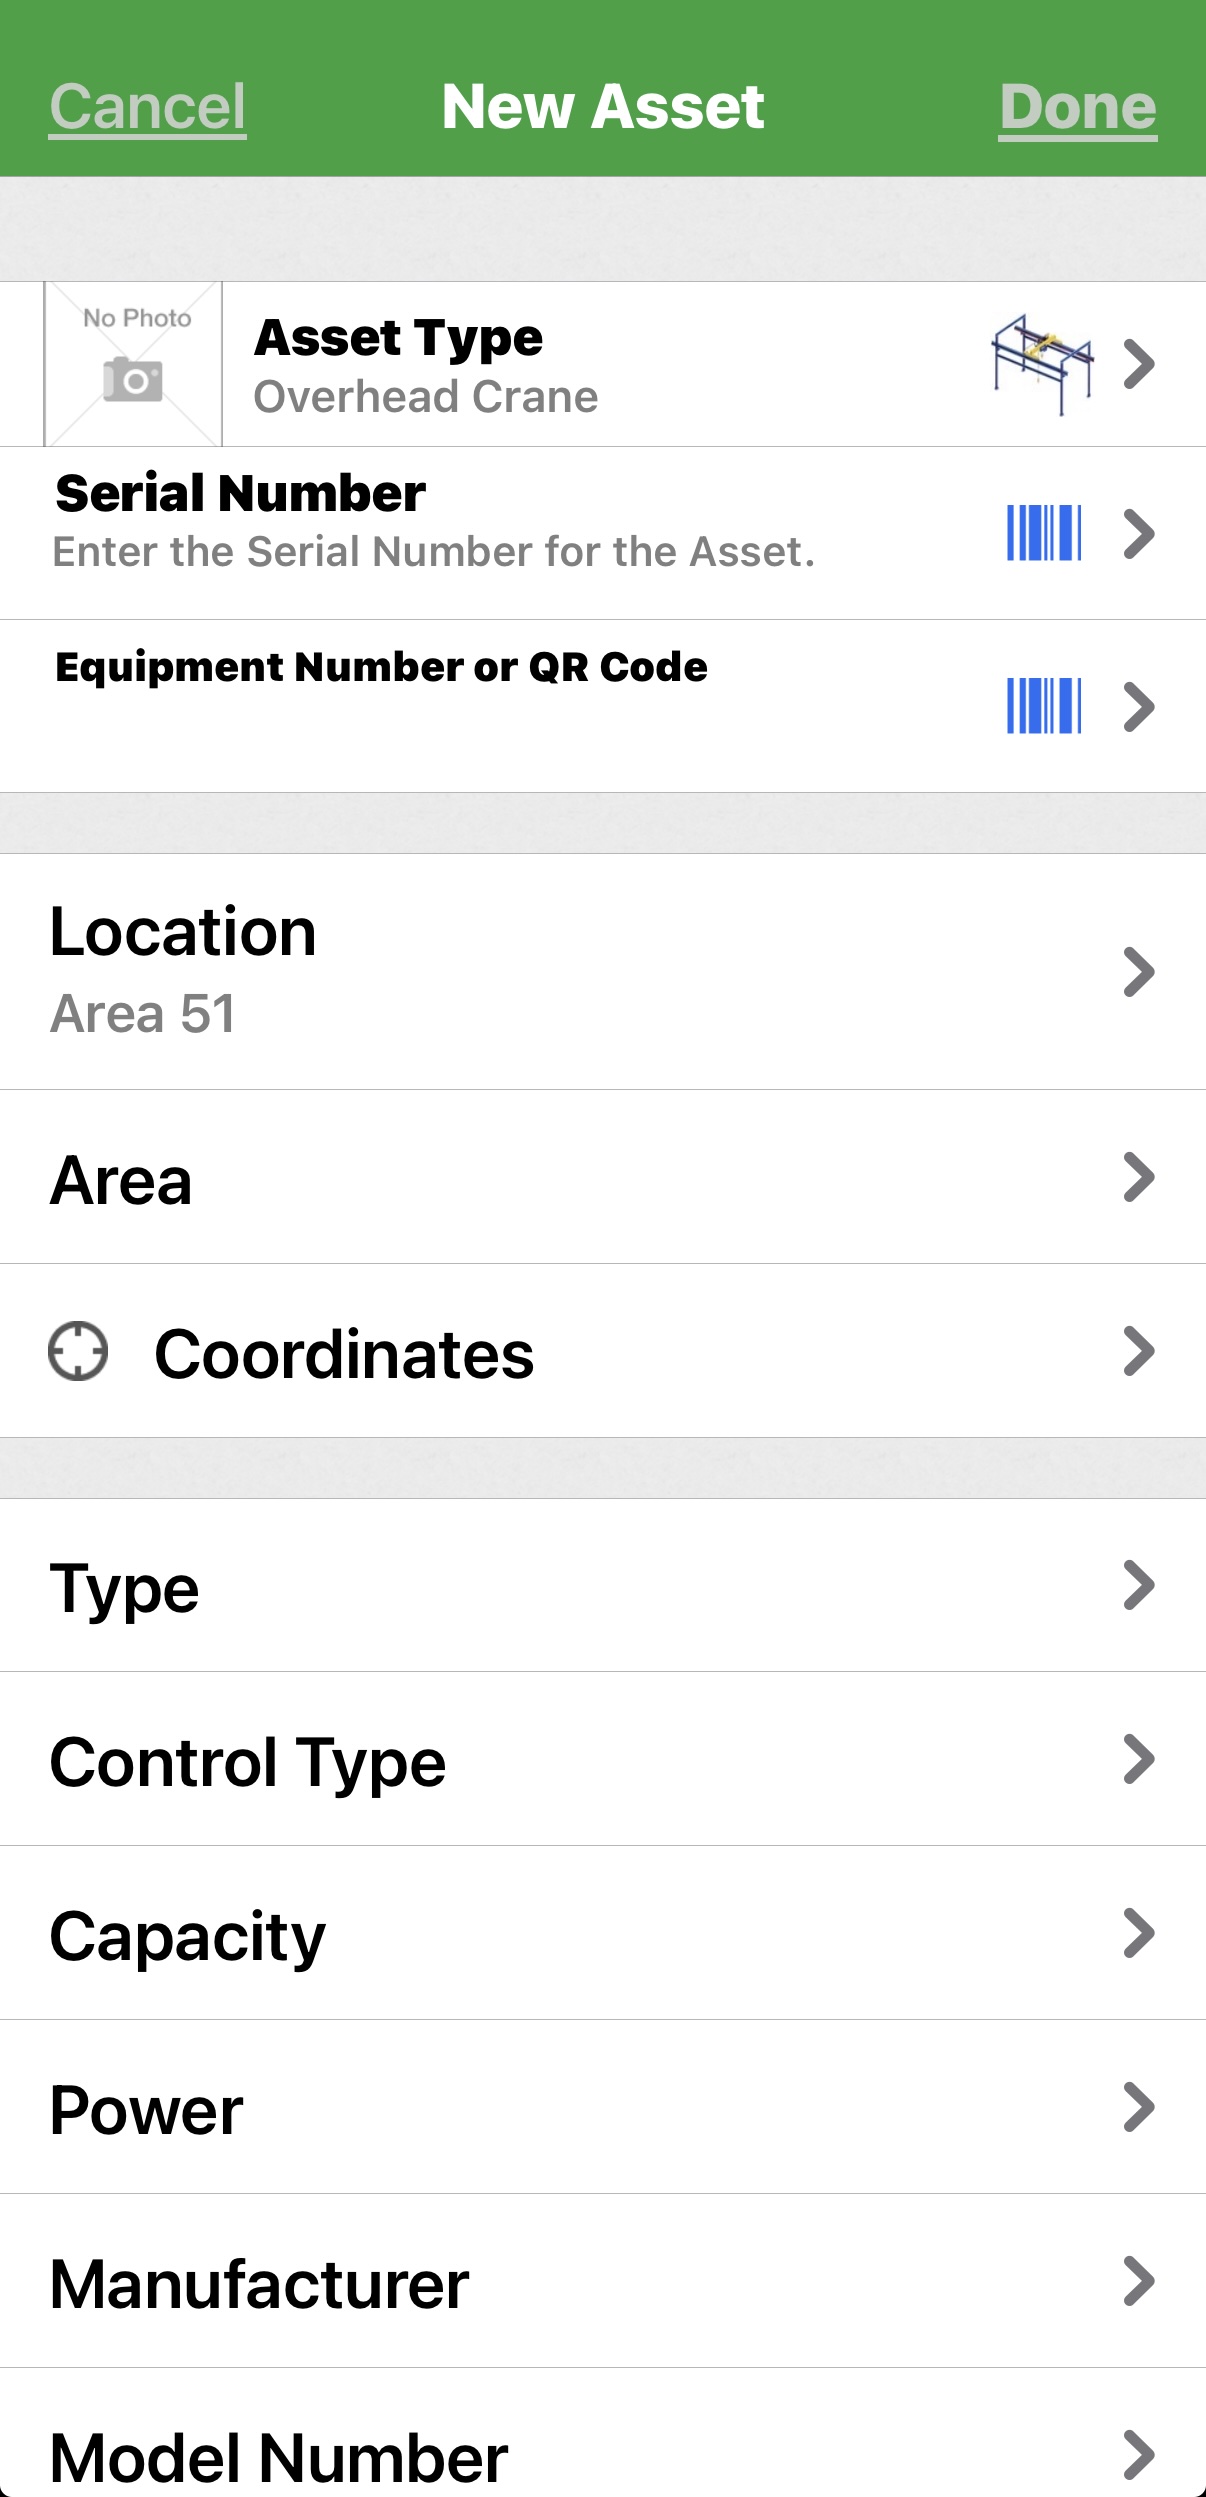
- Fill in what you know then click "DONE" at the top right.
Mobile Instructions - From within a Folder
- Click on the green +Form outline or the + icon at the top right from within a folder.

3. Tap the “Form Type” and pick your class/form from the list
4. If you want to create a new asset, from here you can click on “+Create New Asset”

Enter in the information you know and click “Done” at the top right. Then you can pick it when adding forms to the folder.
Web Instructions - From the Asset Tab
Before you can add your first asset, you will need to setup and configure the asset types. Asset types are organized by categories and classes. For example, I may call my category Fire Protection and Prevention and place the different types of equipment I want to track in a class inside that category.
Add an Asset:
- Click
Assetsfrom the main menu. - Click
Add an Asset. - Fill in the Asset Details and Attributes.
- Click
Create Asset.
Web Instructions - From within a Folder
- From within the Folder, Click Add Form.

- Choose to "Pick Forms for Assets" to get started. Remember, “picking forms” is for non-asset tracking. "Pick Forms for Assets" is what you will do if you are using forms that inspect equipment of any kind. Read more about asset tracking versus non-asset tracking forms HERE.

4. Pick Forms for Assets: If you are adding asset tracking forms to your folder, you will first need to "Pick the assets" that you need. You are able to create a new asset in this step that will be added to the Account database and allow you to select the form in the same step.
If you are just getting started, you will need to build your assets as you are selecting your forms. When you click on “Pick Some Assets”, you will see a blank screen like the one below.

5. From here, if you already had assets built in, you could select them. If you don’t have assets, then click on the green +Asset button.
6. Pick the location or add a new one, and then click on the box to “Choose an Asset Type”. Pick your asset type from the list that populates and click “I’m Done”.
7. A list of details (what we call “attributes) will populate. Fill in the details that you know and click on “Create Asset”. Now that asset will show up in your list. From here, you can add more assets by following 5 thru 7. Or you can just click the asset you just created and click “Next” to choose your forms. *Note: when you create the asset, it stores the information you enter. So the next time it will already be in your list!

8. Choose your forms: Because you picked your asset first, only forms that apply to that asset will show up in the next screen. Select the one(s) you want and then click “Create Forms”.
