Add, Edit, or Remove Questions and Sections
Introduction
The most important part of the form is the questions themselves. InspectAll allows for a wide variety of types of questions because there is a wide variety of information you need. Questions within the form are organized under headings. Each question added will allow a user to input an answer, add comments, photos, and other resources to the question.
More information on the TYPES of questions you can add can be found HERE.
To edit a form template to add a question, go to FORM BUILDER on the InspectAll website. You will only have access to form builder as an Admin user. You can find Form Builder on the drop down menu under your name.
Click on the Form Template you want to edit.
Click "Published" at the top right of the form to Unpublish it so you can make edits.
Select the question type you want to add from the left hand side. You can click and drag and drop it into the form where you want it, or just click it to add it to the bottom of the form.

You can also copy an existing question which will copy the question, definition, question type, answer selection list and canned comments.
Each question you create will have the following properties:
- Question: The question or instructions you want the user to respond to with an answer.
- Definition: Any extra information that may help the user in answering the question.
The definition field is typically used for instructions or notes to the mobile user, and so by default, the definition field of a question is hidden on the report output. If you want the definition field to display on the report, that's just a setting we can update on our end.


- Required: If a question is marked required, the mobile user will not be able to complete the form until all required questions are answered.
- Picture Required: If a question is marked Picture required, the mobile user will not be able to complete the form until that required question has a photo taken or inserted. If the question is marked with Picture Required Only on Priority, then if the user marks the question with a "low, medium, or high" priority level, the mobile user will not be able to complete the form until that required question has a photo taken or inserted.
Some questions have extra options depending on the type of question.
- Default Value: (All questions except Signature & Sketch) This can be used as an example answer to assist the user in answering the question.
- Answer List: (Only Multi-Select and Single-Select questions) This is used as the list of available answers for the user to choose from. Each answer list you create will have the following properties:
- List Name: The name of the answer list (not visible to the user when filling out the form). A list that contained Pass, Fail, and Not Applicable as the available answers may have a list name of "Pass / Fail / NA".
- Share to All Forms / This Form Only: Sharing to all forms makes the answers list available to all forms. Use this for generic answer lists like "Grade 1 - 10". Sharing to this form only will restrict the list to the current form you are building. Use this for specific answer lists like "Tire Pressure Low / Tire Pressure OK".
- Answers: These will be the available answers to choose from on the question. Each answer can have the following properties:
-
Abbr: An abbreviation of the answer. Set an abbreviation if your user's are viewing the form on the iPhone or if they are familiar with an already existing abbreviated format on your forms.
- Answer: The answer you want available from the list of choices.
- Priority: Choose the level of priority you want associated with the answer.
- Text Color: The color you want the text of the answer to display as.
- Score: For more complicated answers, you may want to have a scoring system. For example, an answer of "Yes" may give the question 5 points, but an answer of "No" may give 0 points.
- Default: The option that the answer should default to during auto-complete.


After creating your question, you can add additional helpful resources to that question.
- Canned Comment: Save comments so that they will be available on everyone's question to use and save for later.
- Resources: Text information that will be available to the user for viewing when answering the question.
-
Files: You can upload files and images that will be viewable to the user when answering the question.


Report Visibility
Report Visibility determines if a question on a form template will always show on the report, always be hidden on a report, or will follow the default logic set up with the folder settings based on the priority level.
The report visibility option is Question Specific and can be edited by an Admin user on the website in Form Builder.

Default
Default Visibility will follow the logic set up on the Folder Type setting or Form Setting. If you have set up the report to exclude questions answered with an N/A priority level, for instance, then questions set up with "Default Report Visibility" will just follow that same logic.
Always Visible
Always Visible allows you to set this question up to show on the report regardless of the priority level you assign it on an answer. If you want the question to show up even if it is answered with an "N/A" priority level, choose this visibility setting.
Always Hide
Always Hide will hide the question from your reports regardless of how it is answered. Utilize this setting for questions that you may want to be internal notes and not show up on your final report presented to the customer.
Add a Heading (section)
The headings are used to group questions on the form. Adding a heading is the first step to building a form.
- Click
(Your Name)>Form Builder - Click into the class, then form that you want to work in.
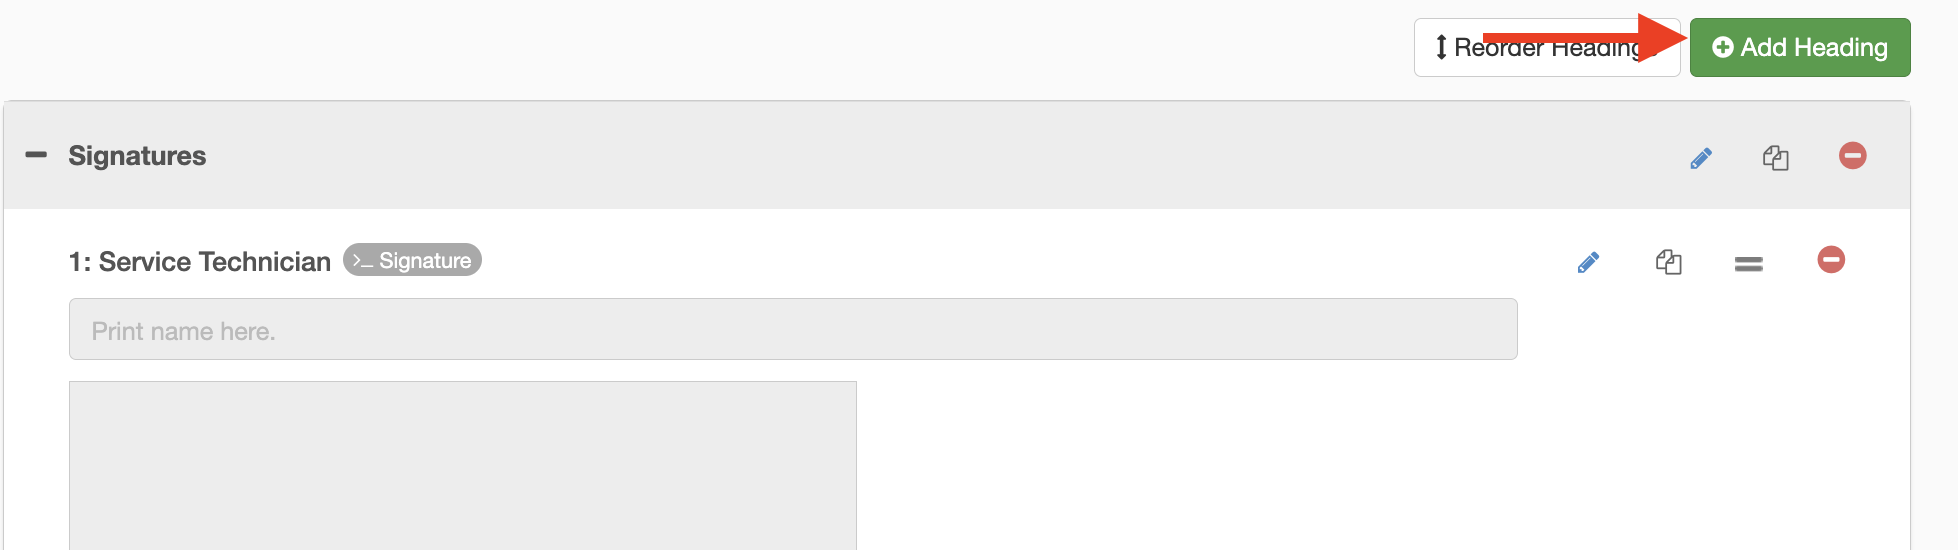
- Click
Add Heading. - Fill in the name of your heading. (50 char limit)
- Click
Save.
Copy a Section
You are also able to Copy a section if you need more than one section with the same questions included. More details can be found HERE
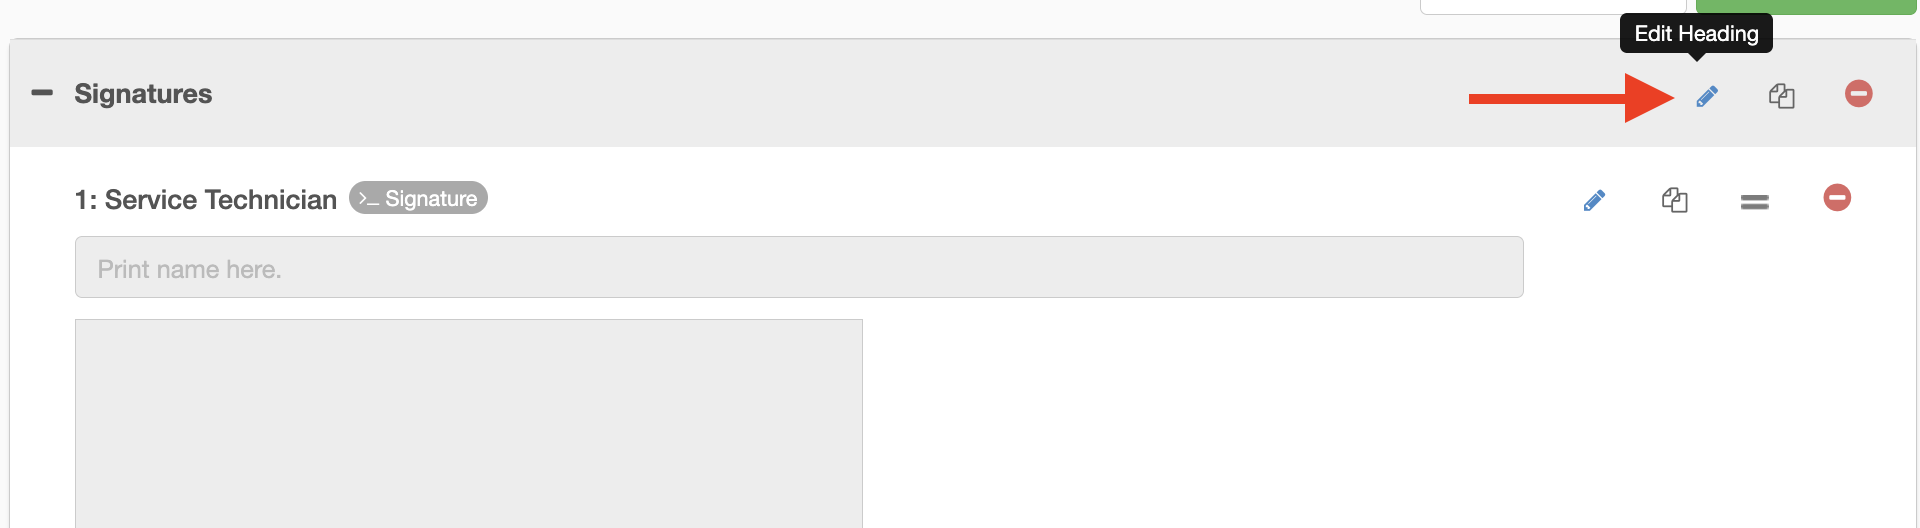
Edit a Section Heading Title
You can edit the existing title/text of a section heading by clicking on the blue pencil icon beside it.
Add a Question
- Simply drag or tap the type of question you'd like to add to your form. Alternatively, you can COPY the question by clicking on the icon with the two piece of paper, and enter in the new question. The copied question will use the same answer selection list, copy any canned comments, and definitions. You can then update the information you want changed for the new question.
- Enter the Question, Definition, Available Answers or Default Answer as desired.
-
Click
Save.

Edit a Question
- Click the blue pencil icon beside the question you want to edit


Delete a Question
- Beside the question you want to remove, tap on the red circle icon to delete the question.
- Deleting a question in form builder will delete it from the form template permanently.
Note: If you do NOT want your form template changes to affect a previously created form in a folder, do not Refresh the form. That will leave previously completed forms as they were when they were filled out. See more about refreshing a form below.

Refresh Your Forms
- If you have already added forms to a folder, and then done some editing to the form template, you will want to REFRESH the form template to see the changes on that form in a folder.
- After adding or deleting questions from your form template and publishing the new version, go into the form template you want to update.
- At the top right you will see a red number beside the "Refresh" option. Click "Refresh" to see the updates.
- Note: If you do NOT want your form template changes to affect a previously created form in a folder, do not Refresh the form. That will leave previously completed forms as they were when they were filled out.

Delete a question
You are able to delete a question on a form template on the app if you have delete capabilities and the form has not been marked complete. This delete action is for the form you are working on, and does NOT update the master form template.
Apple (iOS)
To delete a question on Apple devices, swipe left on the question and tap on "Remove"

Android
To delete a question on Android devices, go into the question and tap on the down arrow at the top of the form.

Then tap on "Delete Question".

Note: The "delete question" option will only work when a form template has not been marked complete and the user has delete permissions.